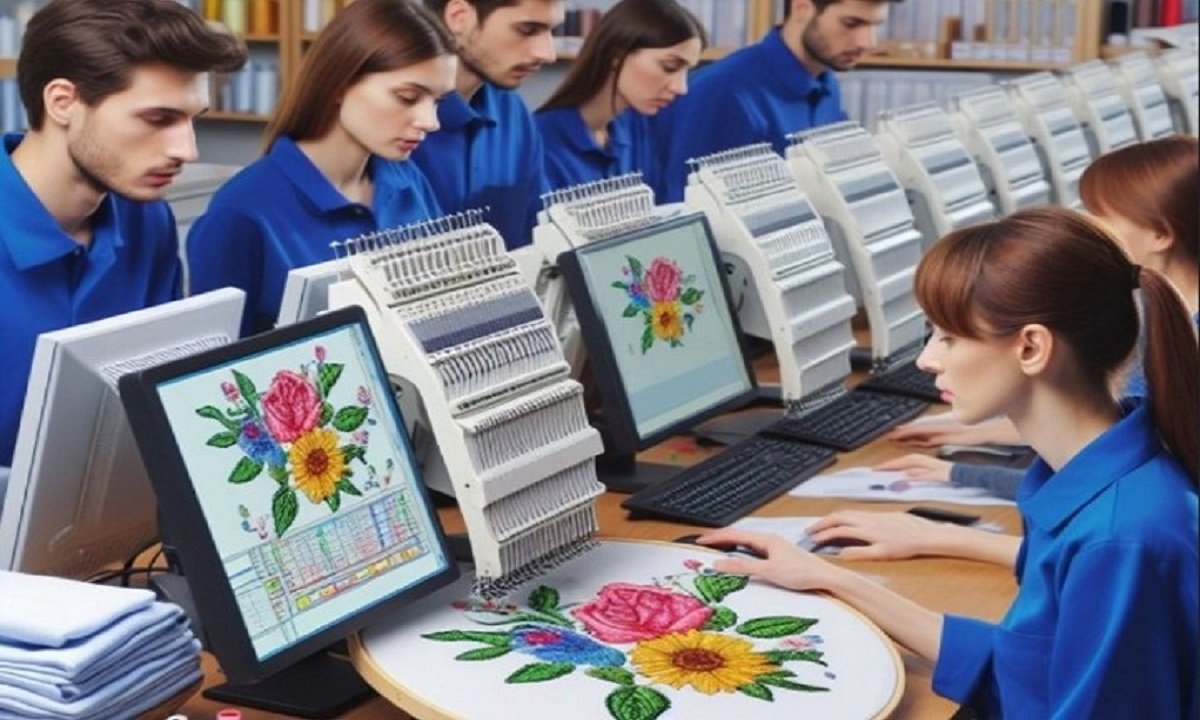
A Simple Guide to Free Tools for Embroidery File Conversion
Embroidery machines do not read every file type. Each brand uses its own format. This can feel hard at first. You download a design. Then you see it is not the right file for your machine. Do not worry. This is very common.
Many people search for the Best Free Embroidery File Format Converters because they do not want to spend money at the start. I understand that. When I began my embroidery work, I also looked for free tools. I tested many of them. Some worked well. Some did not. In this guide, I will share what I learned from real use. I will explain in simple steps how to change embroidery files the right way.
Why File Conversion Is Important
Each embroidery machine brand uses a special file type.
For example:
-
Brother uses PES
-
Janome uses JEF
-
Tajima uses DST
-
Bernina uses EXP
If your machine reads PES and you have DST, the design will not open. You must convert it first.
File conversion helps you:
-
Use more design sources
-
Save money
-
Share files with others
-
Avoid buying the same design twice
It gives you more freedom.
What Is an Embroidery File?
An embroidery file is not like a photo. It is not just an image.
It has stitch data inside. It tells the machine:
-
Where to stitch
-
When to stop for color change
-
How fast to move
-
Where to trim thread
This is why you cannot just rename a file. You must use software to change the format.
Types of Free Conversion Tools
There are different kinds of tools you can use.
Standalone Software
These are programs you install on your computer.
They often give more control. You can preview the design. You can change colors. You can resize a little.
This type is good for regular users.
Online Converters
These run in your browser.
You upload your file. Then you choose the new format. Then you download it.
They are simple and fast. But they may have size limits.
Basic Machine Software
Some embroidery machines come with small tools.
These tools can open and save in more than one format.
Check what came with your machine.
My Experience with Free Tools
When I started, I used only free programs. I did not want to buy costly software.
I tested many file types. I changed PES to DST. I changed JEF to PES. I also made mistakes.
Here is what I learned:
-
Not all free tools support every format
-
Some tools remove thread color data
-
Some tools change stitch order
-
Some tools reduce design quality
So you must always test the file after conversion.
Step-by-Step Guide to Convert Files
Let us keep it simple.
Step 1: Check Your Machine Format
First, know what your machine reads.
Look in your manual. Or check in the machine menu.
Write down the format name.
Step 2: Check the Design Format
Next, check the format of the file you have.
Right-click on the file. Look at the file name. It may end with:
-
.pes
-
.dst
-
.jef
-
.exp
Now you know what change you need.
Step 3: Open in Conversion Tool
Open your chosen free software.
Load the design file.
Wait for it to show on the screen.
Step 4: Preview the Design
Always preview.
Look for:
-
Missing parts
-
Wrong colors
-
Gaps in stitches
If it looks wrong now, it will stitch wrong later.
Step 5: Save in New Format
Choose “Save As.”
Pick your machine format.
Save the file with a new name.
Now it is ready to test.
Always Do a Test Stitch
This is very important.
Never trust a file without testing.
Use scrap fabric. Use the same stabilizer you plan to use later.
Check:
-
Stitch quality
-
Thread breaks
-
Color order
-
Design shape
If something looks wrong, adjust before full production.
Common Problems After Conversion
Free tools are helpful. But they are not perfect.
Here are common issues.
Color Changes Get Mixed
Some formats store thread charts. Some do not.
After conversion, colors may change order.
Always check the color list in your machine.
Stitch Density Changes
Some tools may slightly change stitch data.
This can cause stiff designs.
If density looks too high, try another tool.
Design Size Shifts
Sometimes size may change by a small amount.
Check the size in your machine before stitching.
Tips to Keep Design Quality High
Over the years, I learned some simple rules.
Do Not Resize Too Much
If you need a very different size, go back to the original file.
Resizing a lot can break stitch balance.
Avoid Too Many Conversions
Each time you convert, small changes may happen.
Try to convert only once if possible.
Keep the Original File Safe
Always store the original file in a safe folder.
If something goes wrong, you can start again.
Organize Your Files Well
Good file care saves time.
Create Clear Folders
Make folders by:
-
Machine type
-
Client name
-
Project type
This keeps your work neat.
Use Clear File Names
Add format to the name.
Example:
Logo_PES
Logo_DST
Logo_JEF
This avoids confusion.
Free Tools vs Paid Software
Free tools are great for beginners.
But they have limits.
Paid tools often give:
-
Better stitch control
-
Full editing features
-
Strong support
-
Regular updates
If embroidery is your full-time work, you may upgrade later.
But free tools are fine to start and learn.
How to Choose the Right Free Tool
Ask these questions:
-
Does it support your file types?
-
Can you preview the design?
-
Is it safe to download?
-
Does it keep stitch data clean?
Read user reviews. Check embroidery forums. Learn from other users.
I often join embroidery groups online. Real user feedback helps a lot.
Build Trust with Quality Work
If you sell embroidery, file quality matters.
Clients trust clean stitching.
Bad conversion can ruin fabric. It can waste time and thread.
I always test new tools before using them for client orders.
This keeps my work safe.
Safety and Security Tips
When using free online tools:
-
Do not upload private logos without care
-
Check website security
-
Avoid unknown download links
Protect your client data.
Use trusted sources only.
Keep Learning and Improving
Embroidery tech keeps growing.
New formats may appear. Software may update.
Stay active in embroidery groups. Watch tutorial videos. Read blog guides.
Even after years of work, I still test new tools.
Learning keeps your work sharp.
Real Advice from My Workshop
In my early days, I once converted a large logo file many times. Each time, the design changed a little.
When I stitched it, the text looked tight. The thread broke often.
I learned my lesson.
Now I:
-
Convert only once
-
Test every file
-
Save original files
-
Use trusted tools
These small steps protect my work.
When Free Tools Are Enough
Free tools are good for:
-
Hobby users
-
Small home projects
-
Simple logo changes
-
Basic format swaps
If you only need to change format and not edit design, they work well.
When to Be Careful
Be extra careful when:
-
Working with detailed logos
-
Handling large stitch count designs
-
Preparing files for bulk orders
In these cases, test twice.
Final Thoughts
Embroidery file conversion is not hard. But it needs care.
Know your machine format. Check your design format. Use a trusted free tool. Preview before saving. Always test stitch.
Free tools can save money. They can help you learn. They can support your small shop.
But do not rush. Take small steps. Protect your design quality.
From my real workshop work, I can say this: simple habits make a big difference.
Store files well. Test before big runs. Learn from each project.
When you handle file conversion the right way, your embroidery machine will run smooth. Your designs will look clean. And your clients will trust your work again and again.
Location


Leave a Comment